How to Install Rocky Linux (Best Guide With Screenshots)

Author - Sanjay
Introduction
Rocky Linux has been released with its latest stable version of 8.4 .Since Centos has been announced its end of life Rocky Linux has gained popularity along with few other linux distros. Rocky linux is maintained and distributed by Rocky Foundation. Centos8 will be supported till end of 2021 and after 2021 Rocky Linux targets to be an alternative platform for production . It is maintained by the community of linux contributors and built using Red Hat Enterprise Linux source code .
Table of Contents
Pre-Requisistes
In order to start with the installation of Rocky Linux we need to have following ISO files based on your requirement .
Download the best that suits for you from below .
| X86_64 | DVD | Minimal | Torrent |
|---|---|---|---|
| ARM64 | DVD | Minimal | Torrent |
Once you have downloaded the ISO, create a bootable USB using any bootable software like unetbootin.Make sure you have the following hardware requirements.
- Minimum 2GB Ram.
- 20 GB or More Hard Disk ,We recommend having 35 GB of HDD.
- Minimum 2 Core CPU.
Once you have all the above pre requisites ready ,please follow the steps below for installation.
Booting Up With Installer
Once you have made your bootable media drive or USB change your boot priority to USB and open your BIOS settings. In most of the systems if you select the bootable media drive your installation screen will pop up and will look like below.
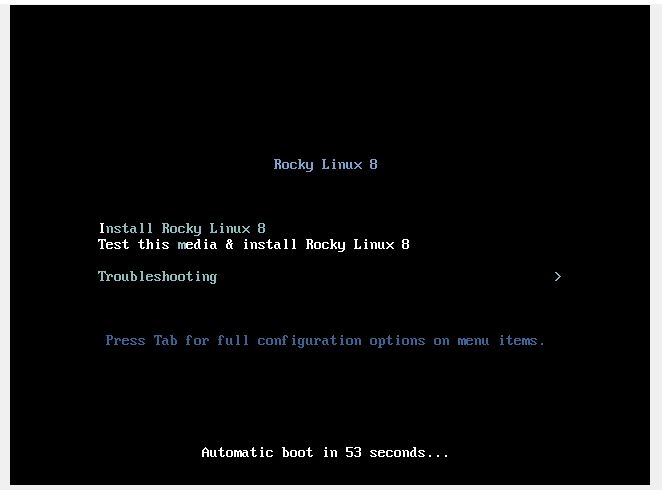
Now once the first screen is opened as shown above of select the first option to insert to initiate the installation . Selecting the options from above menu will turn the text color to white . Once the desired option is seleted press "ENTER" .
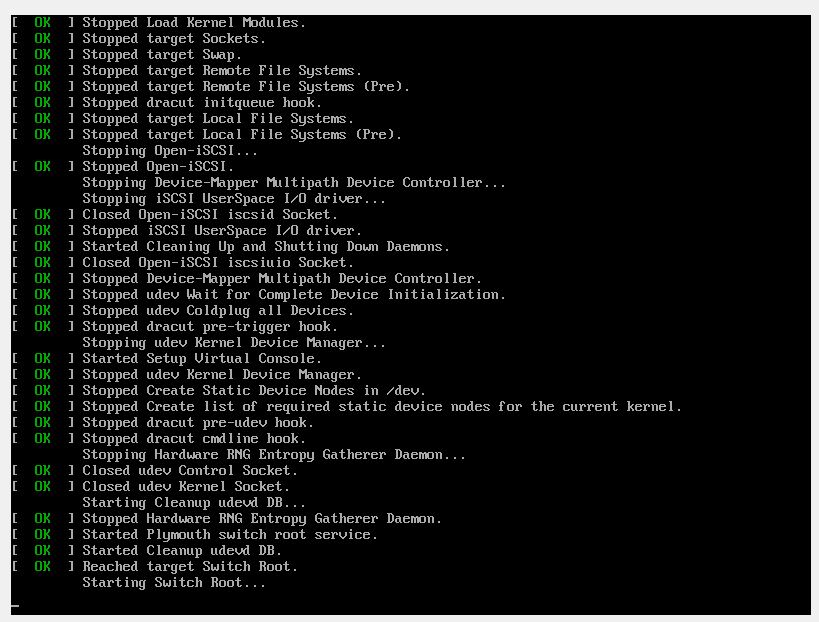
Once the option is selected you will find the below screen with some texts and commands coming up as shown below. The most well known linux installer will run and you will get a graphical UI to select language .
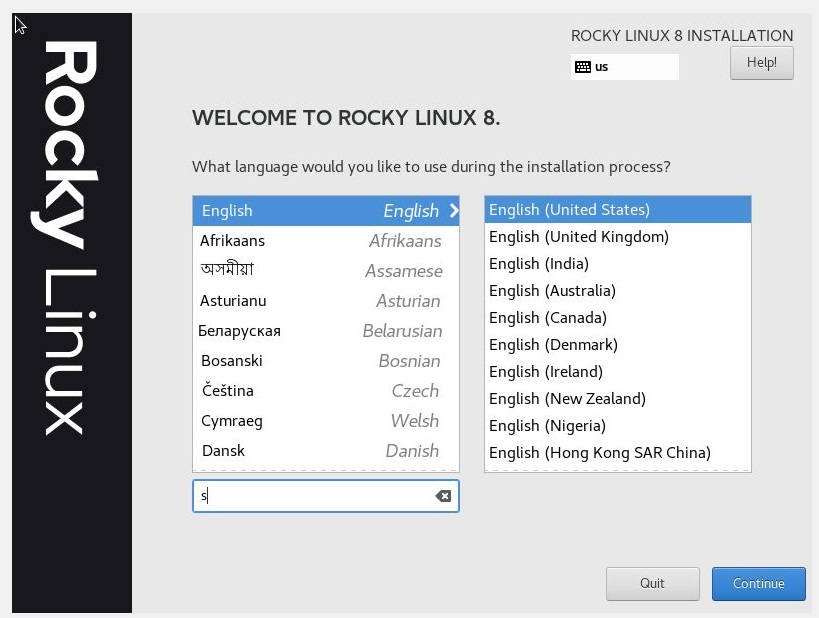
Select Your Installation Language
Select your preferred installation language in our case we have selected as English as shown below and then click on "Continue".